A QR code for Google Forms lets you collect responses on paper handouts, in classrooms, at events, or on signage. Users scan the code with their phone camera, the Google Form opens in their browser, and they fill it out. No app to install, no URL to type. The fastest way to bridge offline and online data collection.
This guide shows you how to make a QR code for any Google Form in under 60 seconds, with tips on what to put in the form and the best practices for placement.
What Is a Google Form QR Code?
A Google Form QR code is a standard QR code that, when scanned, opens a Google Form in the user\u2019s phone browser. The user fills out the form and submits; the responses go to your Google Sheets automatically.
The QR code itself just contains a URL. The URL points to a Google Form (which lives at docs.google.com/forms/...). When a user scans, the form opens, they fill it out, and the response is saved.
How to Get Your Google Form URL
- Open your Google Form in edit mode
- Click the \u201cSend\u201d button (top right)
- Click the link icon (chain link) in the popup
- Click \u201cCopy\u201d to copy the URL
The URL looks like https://docs.google.com/forms/d/e/FORM_ID/viewform. This is the URL you\u2019ll encode in the QR code.
Note: don\u2019t shorten the URL with a service like bit.ly. Google Form URLs are stable and work forever. Adding a short URL in the middle adds a dependency that can break.
How to Make the QR Code
- Open QRCode Studio (or your preferred generator)
- Select \u201cURL\u201d format
- Paste the Google Form URL
- Set error correction to Q (supports a small logo if you want)
- Generate and download
- Test by scanning with your phone
Total time: about 30 seconds. The hardest part is making sure the URL is correct.
Test Before Deploying
Always test the QR code with multiple phones before printing or publishing. The test should verify:
- Scanning opens the Google Form (not an error page)
- The form loads completely (no broken images or styling)
- The form is mobile-friendly (most people will fill it out on their phone)
- Submission works (test by submitting a fake response)
- Responses appear in your Google Sheets
The first test is the most important. A typo in the URL means the QR code goes to a non-existent form.
Form Design Tips
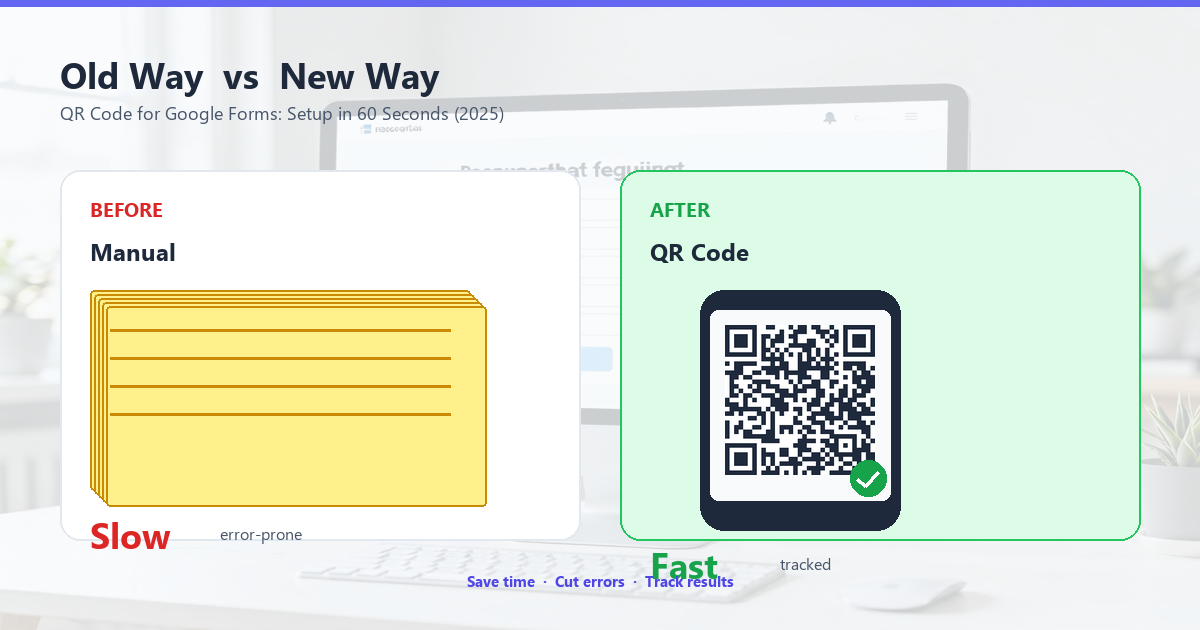
The QR code is the bridge; the form is the destination. A well-designed form gets 3x more completions than a poorly-designed one. Here are the design tips that matter most:
1. Keep the title short
Mobile screens are narrow. A title longer than 6 words wraps and looks bad. Use a short title (\u201cEvent feedback\u201d) and a longer description below.
2. Fewer questions is better
Each question reduces completion rate by 10-15%. Aim for 3-5 questions max. If you need more, mark the rest as optional.
3. Use multiple choice when possible
Multiple choice questions are faster to answer and easier to analyze than text questions. Use text questions sparingly, only when you need open-ended feedback.
4. Test on mobile
Most people will fill out the form on their phone. View the form in Google Forms\u2019 mobile preview. Make sure the questions, options, and submit button are easy to tap on a small screen.
5. Mark non-essential questions as optional
Required questions must be answered. Optional questions can be skipped. Mark any question you can live without as optional. This dramatically increases completion rate.
6. Customize the confirmation message
After submission, Google Forms shows a default \u201cYour response has been recorded\u201d message. Customize this to \u201cThanks! We\u2019ll email you a confirmation.\u201d or whatever is appropriate for your context.
Where to Use Google Form QR Codes
Google Form QR codes work in any context where you want to collect structured responses from people who aren\u2019t already in front of a computer:
- Classroom: \u201cScan to submit your homework\u201d on a poster. Students scan, fill out the form, submit. No need to type a URL.
- Event feedback: \u201cScan to rate this session\u201d on a slide. Attendees scan, rate 1-5 stars, add a comment.
- RSVP: \u201cScan to RSVP\u201d on an invitation. Guests scan, enter their name, submit.
- Job applications: \u201cScan to apply\u201d on a \u201cHelp wanted\u201d sign. Applicants scan, fill out the form, you get the response in Sheets.
- Volunteer signup: \u201cScan to sign up\u201d on a flyer for a community event. Volunteers scan, pick a shift, submit.
- Customer satisfaction: \u201cScan to rate your experience\u201d on a receipt. Customers scan, rate 1-5, add a comment.
Viewing and Analyzing Responses
Google Forms automatically saves responses to Google Sheets. To view:
- Open your Google Form
- Click the \u201cResponses\u201d tab
- Click the green Sheets icon to open the response spreadsheet
The spreadsheet updates in real time as responses come in. You can also set up email notifications for new responses, or use Google Apps Script to send responses to other systems.
Privacy Considerations
When collecting data via Google Forms, follow these privacy practices:
Be transparent about data use
Add a line in the form description: \u201cYour response will be used to [purpose]. We will not share your data with third parties.\u201d
Don\u2019t collect more than you need
Each data field is a liability. Only ask for what you need. If you don\u2019t need a phone number, don\u2019t ask for one.
Set data retention
Decide how long you need the data and delete it when you no longer need it. This is especially important for any personally identifiable information.
Follow local regulations
GDPR (EU), CCPA (California), and similar laws apply to data collected via Google Forms. Make sure you understand your obligations.
Common Mistakes to Avoid
These are the mistakes that turn a 90% completion rate into a 30% completion rate:
1. Too many questions
Each question reduces completion. 5 questions gets 3x the responses of 20 questions.
2. URL typo or wrong form
Pasting the wrong URL means users scan and land on someone else\u2019s form. Always test with multiple phones before deploying.
3. No clear call to action
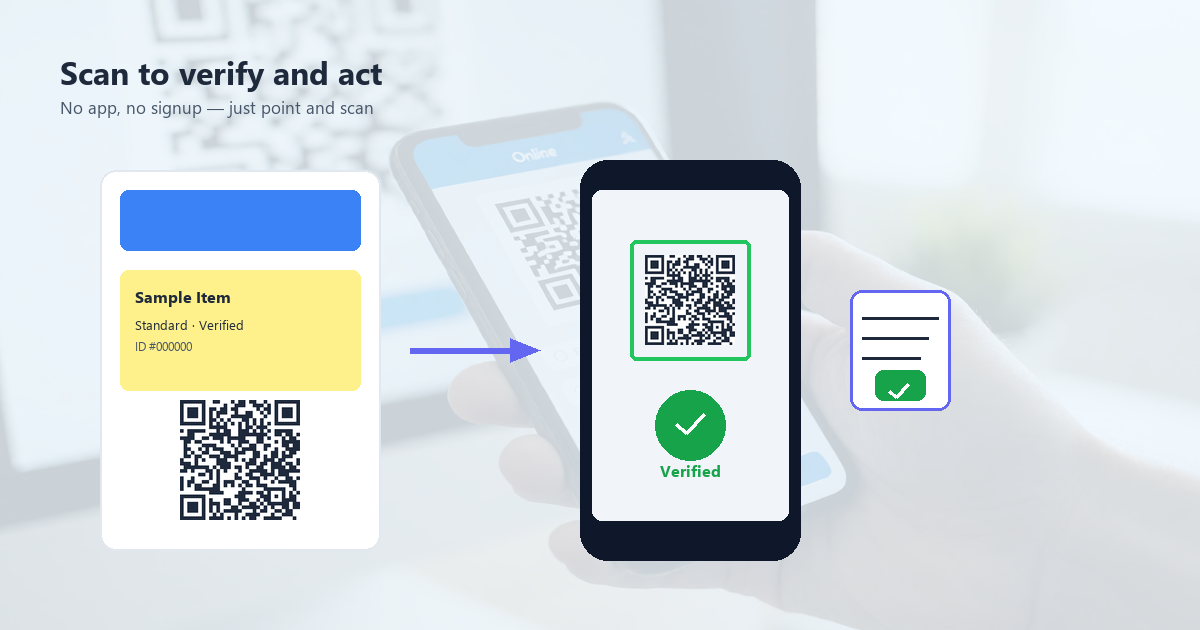
A QR code without a CTA is a mystery. \u201cScan to rate this session\u201d is 5x more effective than a bare code.
4. Form not mobile-friendly
Most people will fill out the form on their phone. Test on a phone before deploying.
5. Required fields on optional questions
Mark non-essential questions as optional. Required fields kill completion rate.
Frequently Asked Questions
Does the QR code need to point to the edit URL or the response URL?
Always use the response URL (the URL that ends in /viewform). The edit URL goes to the form editor, which you don\u2019t want users to access.
Can I use a short URL for the Google Form?
Technically yes, but it adds a dependency. If the short URL service changes the link, your QR code stops working. Use the direct Google Form URL for stability.
Can I limit the form to one response per person?
Yes. In Google Forms, go to Settings \u2192 Responses and enable \u201cLimit to 1 response.\u201d Users will need to sign in to Google to submit, which prevents duplicates.
Can I see who submitted what?
If you require sign-in (Settings \u2192 Responses \u2192 Collect email addresses), yes. Otherwise, the responses are anonymous.
Can I edit the form after deploying the QR code?
Yes, the QR code points to the form URL, not a snapshot. You can edit the form anytime; the QR code stays the same.
Conclusion: The Easiest Way to Collect Offline Data
Google Form QR codes are the simplest way to collect structured responses from people who aren\u2019t in front of a computer. The setup takes 60 seconds: get the form URL, paste it into a generator, download. The deployment is just a printed QR code on a handout, poster, or sign. The data collection is automatic \u2014 responses go to Google Sheets, ready to analyze.
For best results: keep the form short (3-5 questions), test on multiple phones before deploying, and add a clear call to action next to the QR code. The first time you collect 50 responses from a single event without typing a single URL into a single phone, you\u2019ll be hooked.